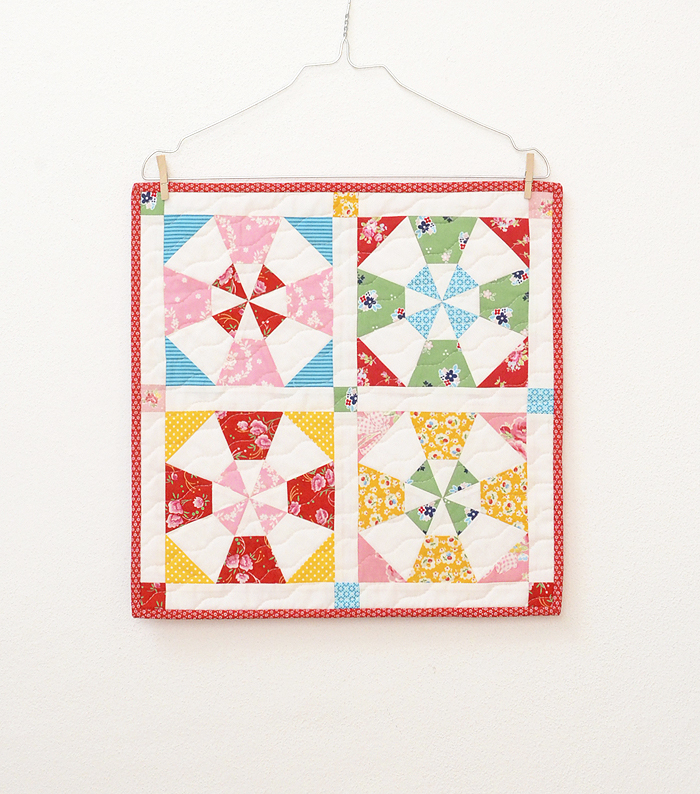
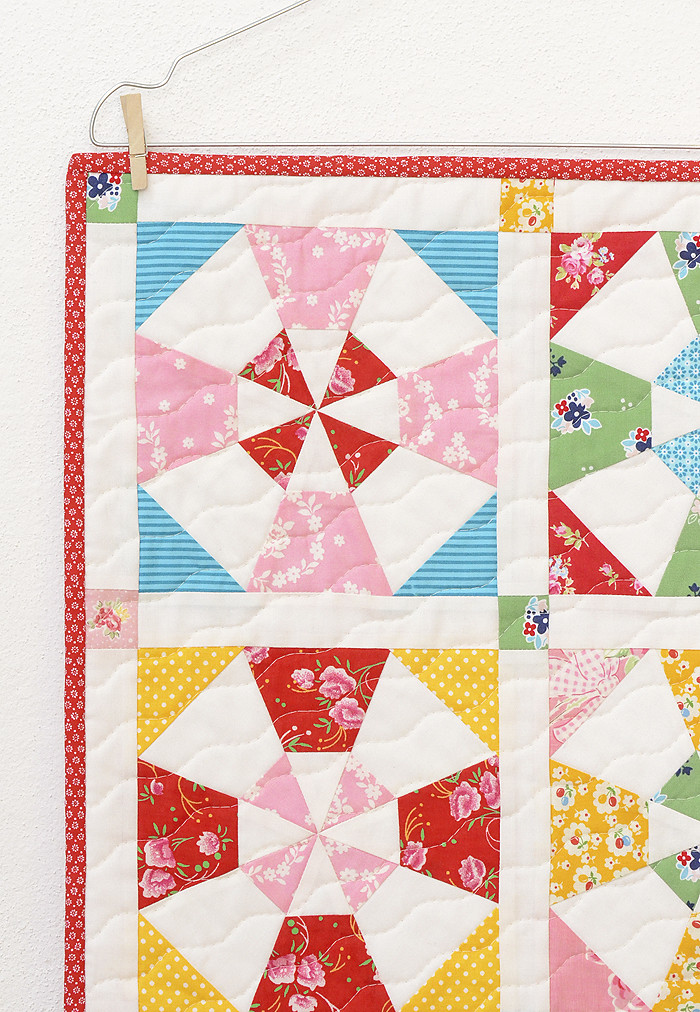
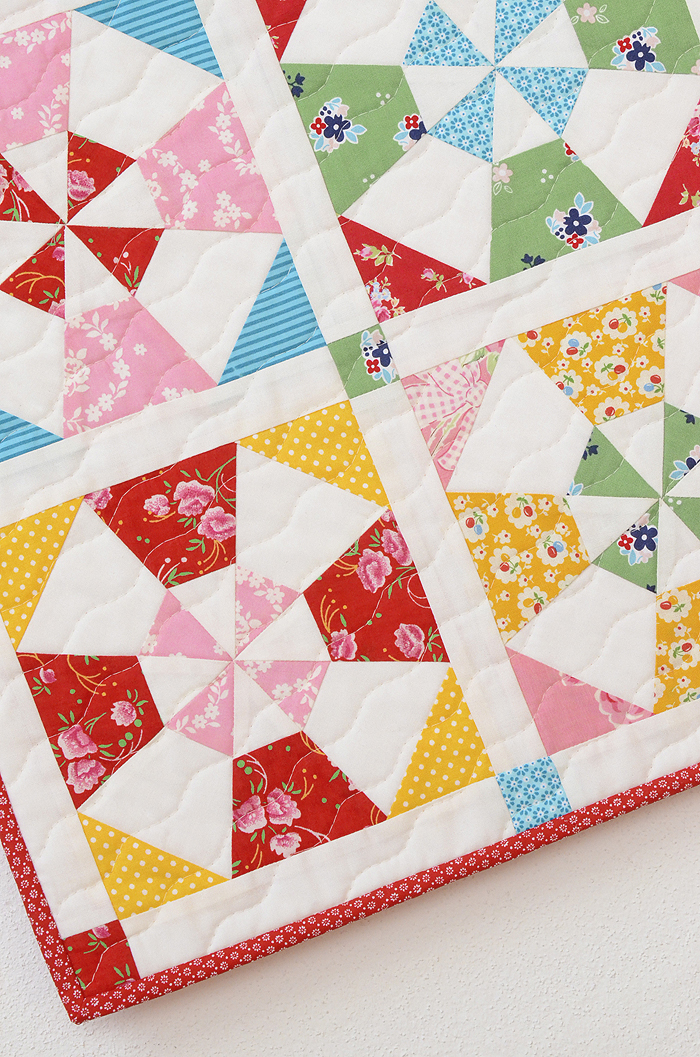
Das Quilttop für diesen Mini Quilt habe ich bereits letzten Sommer gemacht. Damals fing ich gerade an, mir Gedanken über eigene Entwürfe zu machen. Seitdem hing es an meiner Wand und hat mich freundlich angeschaut. Als klar war, dass ich ein Tutorial über das Fertigstellen eines Quilts machen werde, kam mir dieses sog. UFO (unfinished object) gerade recht. Das Fertigstellen eines Quilts kann eine ziemlich überwältigende Angelegenheit sein. Ich rate Euch, an kleinen Objekten (Topflappen oder Platzdecken) zu üben, und Euch langsam an größere Projekte heranzutasten. Ich werde dieses Tutorial in meinen Schnittmustern verlinken (nicht mehr lange – nur noch ein paar Dinge zu erledigen, bevor ich endlich eröffnen kann!!), denn es ist eigentlich kaum möglich, diesen Vorgang in wenigen Worten zu erklären.
Eine kleine Anmerkung noch: es führen bekanntlich viele Wege nach Rom. Das gilt auch für das Fertigstellen eines Quilts. Über die einzelnen Schritte gibt es geteilte Ansichten (Spray Basting ja oder nein, Stecknadeln oder Sicherheitsnadeln, von Hand oder mit der Maschine…) Die hier beschriebene Methode ist die, mit der ich persönlich am besten zurechtkomme. Und ich hoffe, dass sie der ein oder anderen von Euch auch weiterhelfen wird! Und jetzt viel Erfolg!
Tutorial: Anleitung
I made this mini quilt top last summer, when I first started thinking about my own quilt patterns. It was hanging on the wall since then, but came just at the right time when I decided to make a tutorial on how to finish a quilt recently. Finishing a quilt can be a stressful and overwhelming task, especially when you’re a beginner. I recommend practicing on a small object like a potholder or placemat. And then approach larger projects as you get more and more experienced. I will link to this tutorial in my patterns (only a few more things do, so not much longer until the launch!!), because it’s actually not possible to describe this process in only a few sentences.
Just a tiny note: there isn’t just one way of doing it. This is also true for finishing a quilt. The opinions are divided: spray basting yes or no, straight pins or safety pins, by hand or by machine… In my tutorial, I describe the method I personally am most comfortabel with, and I very much hope you will find it helpful, too! And now, good luck!
Tutorial: Instructions


Wenn Ihr mein nächstes Tutorial nicht verpassen wollt, dann meldet Euch für meinen Newslettter an!
Subscribe to my newsletter, if you don’t want to miss my next tutorial!

Süßer Miniquilt! Ich benutze Stecknadeln, quilte mit der Maschine, nähe das Binding erst mit der Maschine an und hefte dann mit der Hand auf der Rückseite. Jeder wie er mag und das ist ja das schöne:-)
Cute mini quilt! I use pins, machine quilt, sew the binding first with the machine and then hand stitch on the backing. Everybody how he likes and that’s good:-)
Da hast Du vollkomen Recht, Hildy!
Liebe Grüße!
Nadra
An excellent tutorial and such a darling little quilt!
Thank you, Allison ♥
Hello Nadra! I don’t seem to be able to comment on the post about the pattern testing for Notting Hill, so I am commenting here instead! Such beautiful quilts…. all so different and all beautiful! You must be very proud to see your pattern so wonderfully interpreted! Congratulations!! Christine x