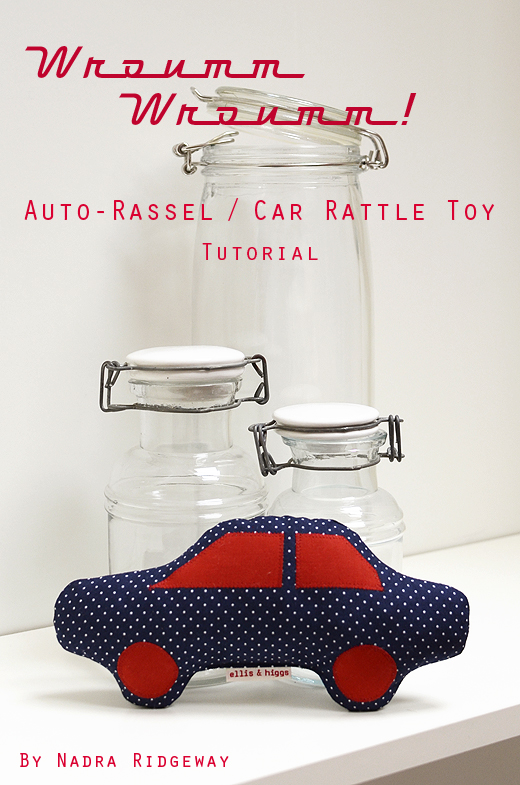
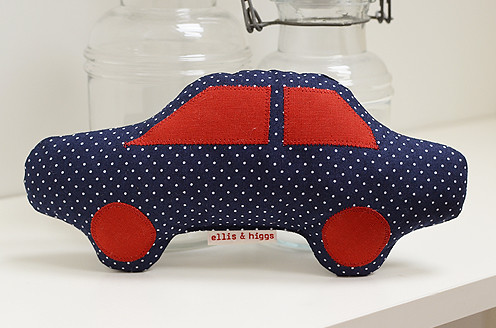
Wie man eine Auto-Rassel näht… How to sew a Car Rattle Toy…
MATERIALIEN:
Schnittmuster hier herunterladen
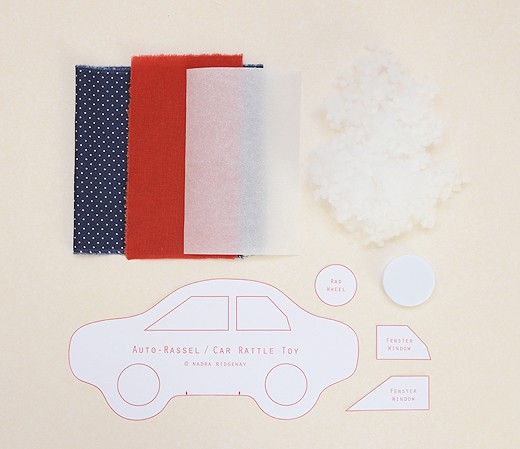
1 x 15×52 cm mittelschwerer Baumwollstoff
1 x 9×13 cm leichter Baumwollstoff für die Applikationen
1 x 9×13 cm Vliesofix
Polyesterfüllung
1 Rasselscheibe
Stift, Stecknadeln
MATERIALS:
Pattern download here
1 6″×20″ piece of meidum weight cotton fabric
1 3 1/2″×5″ piece of lightweight cotton fabric for appliques
1 3 1/2″×5″ piece of bondaweb vlisofix
polyester fiber filling
1 rattle insert
pencil, pins
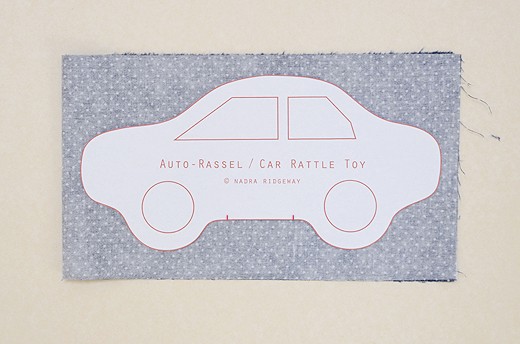
1. Schnittmuster herunterladen, ausdrucken und ausschneiden. Ich empfehle Euch Karton zu verwenden, dann lässt sich das Schnittmuster besser nachziehen.
Download the pattern, print and cut it out. I recommend printing it on card stock for easy tracing.
2. Vlisofix nach Anleitung des Herstellers auf die linke Seite des kleinen Stoffstücks bügeln.
Iron bondaweb vliesofix on the left side of the small fabric piece, following the manufacturer’s instructions.
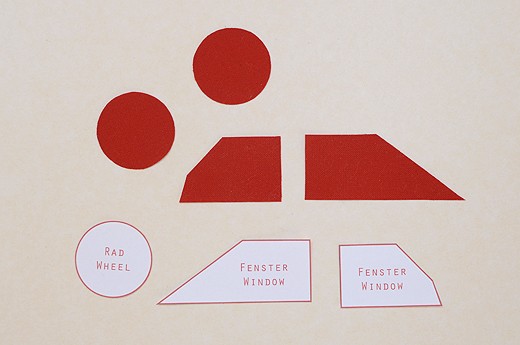
3. Räder und Fenster ausschneiden.
Cut out wheels and windows.
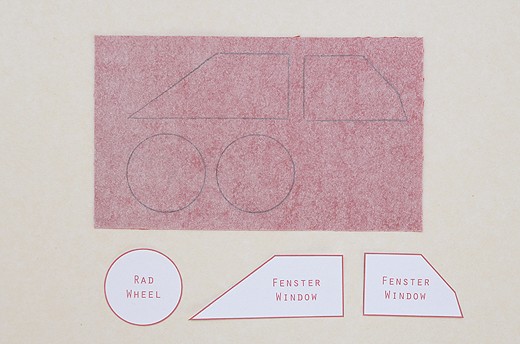
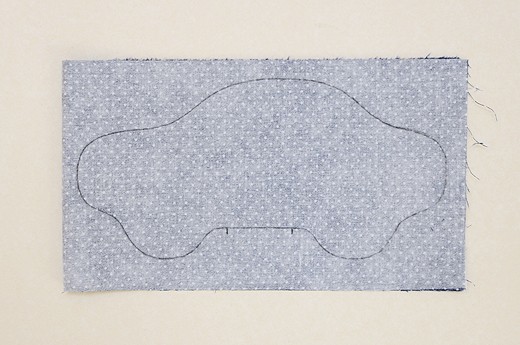
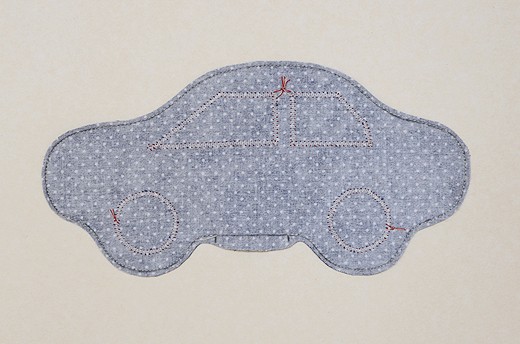
4. Das große Stoffstück in der Mitte falten und die rechte Hälfte als Vorderseite für das Auto verwenden. Schnittmuster auf der linken Seite platzieren und wie abgebildet mit einem Stift umranden, dabei auch die Öffnung markieren.
Take the large fabric piece, fold it in half and use the right half as front-side of your car. Draw around the pattern with a marking pencil as shown. Make sure to mark the turning hole.
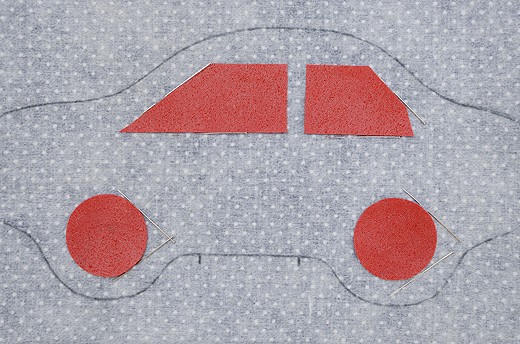
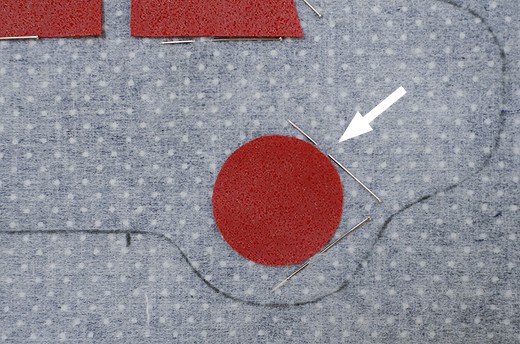
5. Räder und Fenster auf links drehen, auf der linken Seite des Stoffes positionieren und die Position von der anderen Seite gut sichtbar mit Stecknadeln makieren.
Turn wheels and windows to the left, place them on the left side of the fabric and mark the position with a few pins, clearly visible on the other side.
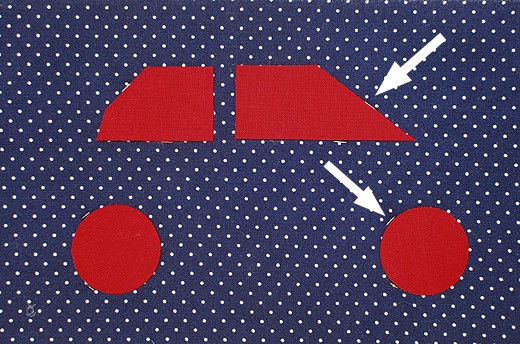
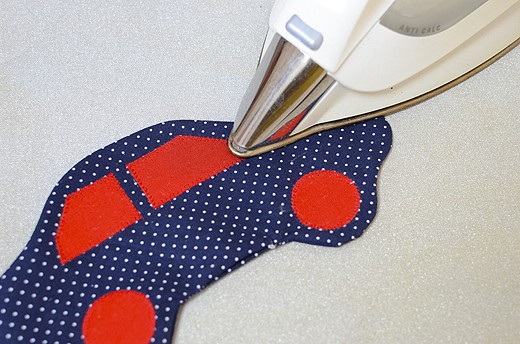
6. Räder und Fenster mit der bügelbaren Seite nach unten auf die rechte Seite des Stoffes legen. Kurz anbügeln, Nadeln entfernen und die Applikationen nach Anleitung des Herstellers festbügeln.
Place windows and wheels sticky side down, onto the right side of the fabric. Iron on gently and remove the pins. Apply firmly, following the manufacturer’s instructions.
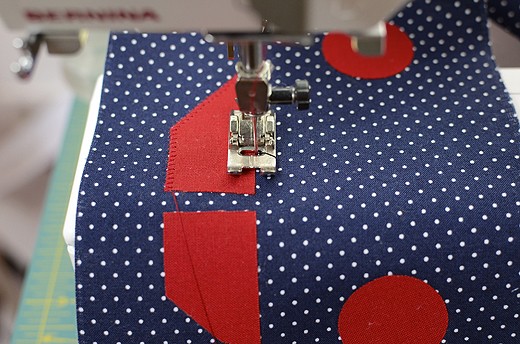
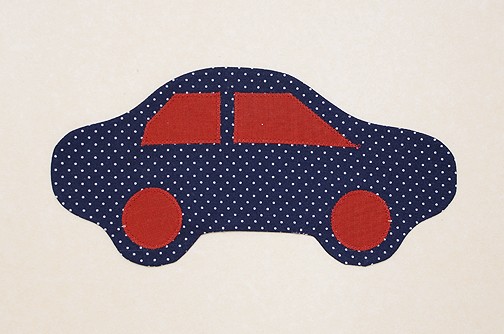
7. Die Applikationen mit einem engen Zickzack-Stich umranden. Fäden auf der linken Seite des Stoffes verknoten.
Stitch aound the applique pieces using a tight zigzag stitch. Knot the end of the thread on the left side of the fabric.
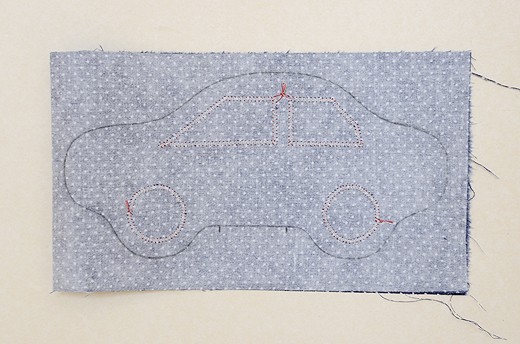
So sollte Eurer Nähstück jetzt aussehen:
Your sewing piece should look like this:
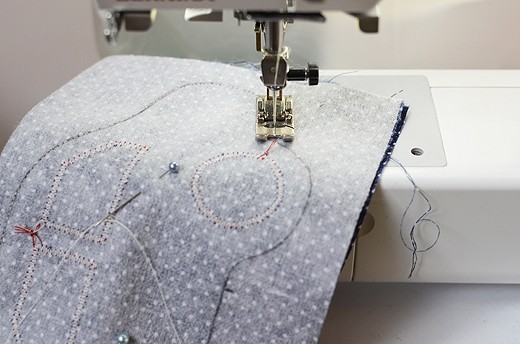
8. Stoffstück wieder falten und entlang der Linie von der ersten bis zur zweiten Öffnungsmarkierung zusammennähen.
Fold the fabric again. Starting and stopping on the marks for the turning hole, stitch along your pencil outline.
9. Das Auto eng entlang der Naht ausschneiden. An der Öffnung sollte die Nahtzugabe etwas länger sein.
Trim the car fairly close to the stitch line, leaving long tabs at the turning hole.
10. Das Auto auf rechts drehen, in Form bringen und bügeln.
Turn the car right side out, adjust shape and iron.
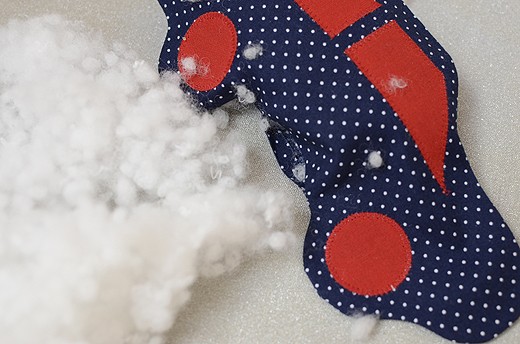
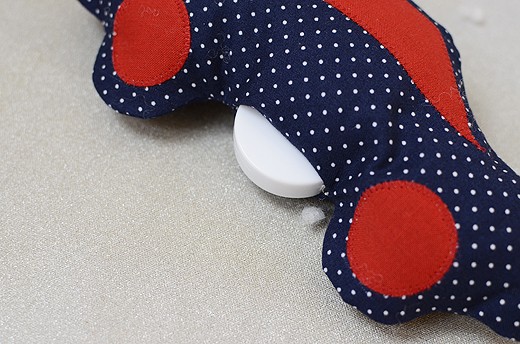
11. Das Auto füllen und die Rasselscheibe in der Mitte platzieren.
Stuff the car and place the rattle insert firmly in the center.
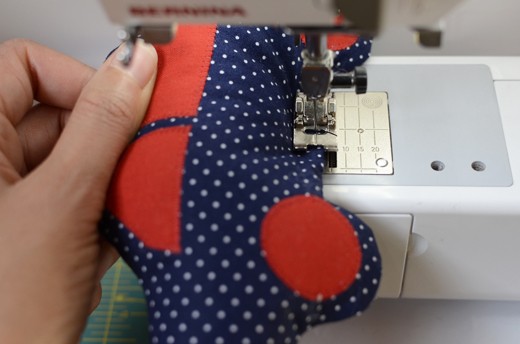
12. Öffnung mit einer geraden Naht schließen.
Close the turning hole using a straight seam.
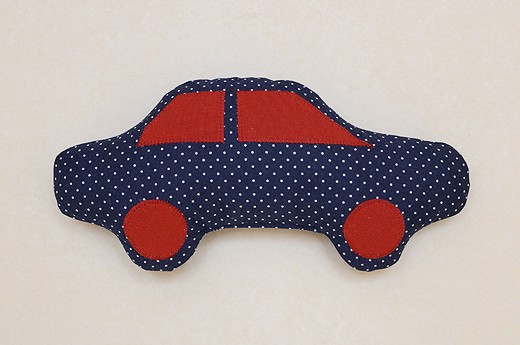
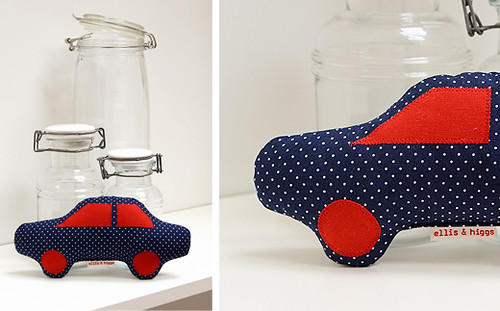
Bitte sehr! Wroumm wroumm…
Here you go! Wroumm wroumm…
