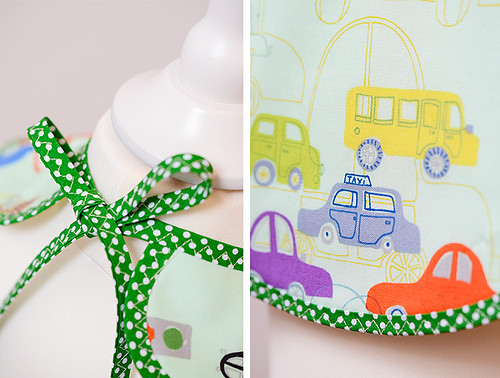
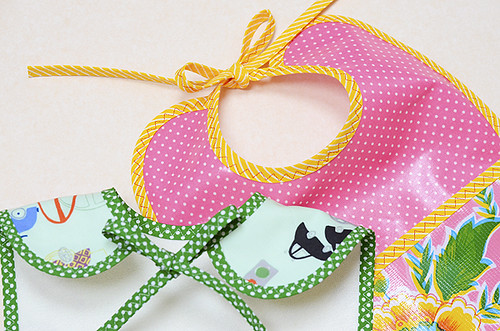
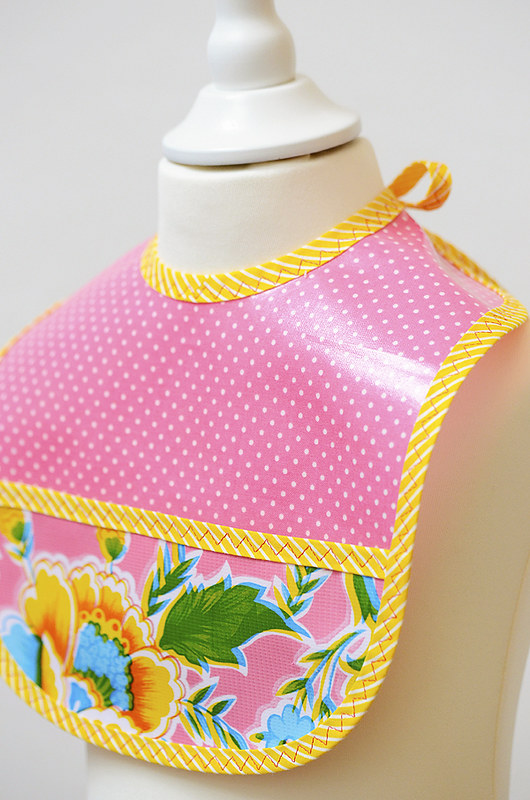
Wie man ein Babylätzchen näht… How to sew a baby bib…
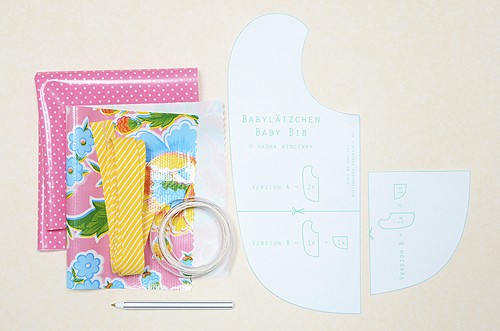
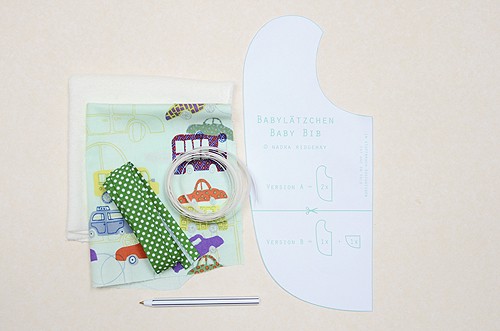
MATERIALIEN:
Schnittmuster hier herunterladen
VERSION A:
1 x 26×30 cm Baumwollstoff
1 x 26×30 cm Frottier-Stoff
170 cm Schrägband, 18 mm breit
170 cm Vliesofix Band, 14 mm breit
Markierstift
VERSION B:
1 x 26 × 29 cm Wachstuch
1 x 26 × 12 cm Wachstuch
195 cm Schrägband, 18 mm breit
195 cm Vliesofix Band, 14 mm breit wahlweise auch Gewebekleber oder Stecknadeln
Markierstift
MATERIALS:
Pattern download here
VERSION A:
1 x 10 1/2″ x 12″ piece of cotton fabric
1 x 10 1/2″ x 12″ piece of terry cloth
67″ bias tape, 3/4″ wide
67″ strip of bondaweb vlisofix, 1/2″ wide
Marking pen
VERSION B:
1 x 10 1/2″ x 12″ piece of Oilcloth
1 x 10 1/2″ x 5″ piece of Oilcloth
77″ bias tape, 3/4″ wide
77″ strip of bondaweb vlisofix, 1/2″ wide, alternatively fabric glue or pins
Marking pen
VERSION B
1. Schnittmuster herunterladen, zweimal ausdrucken und 1 x das Lätzchen, 1x die Tasche ausschneiden. Ich empfehle Euch Karton zu verwenden, dann lässt sich das Schnittmuster besser nachziehen.
Download the pattern, print it twice and cut out the bib and the pocket. I recommend printing it on card stock for easy tracing.
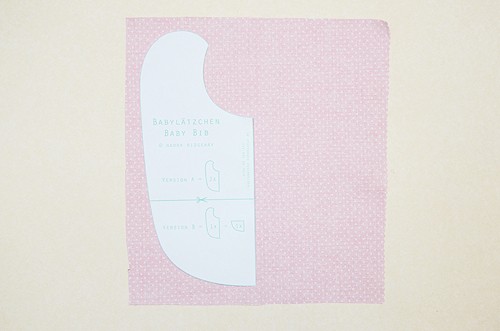
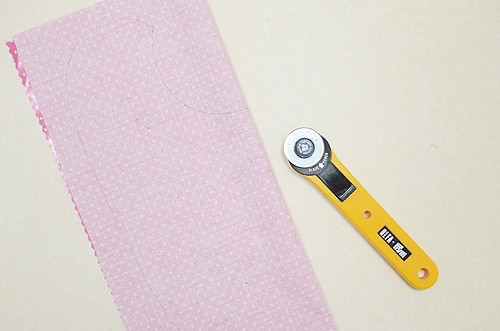
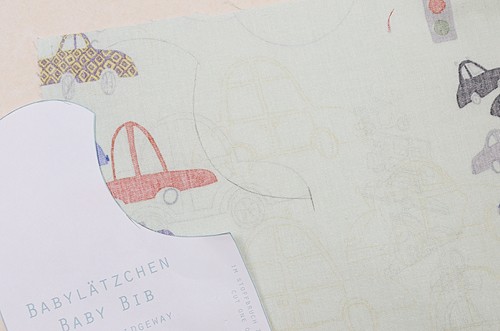
2. Den Stoff auf links drehen. Das Schnittmuster platzieren und mit dem Stift umranden. Die Mitte oben und unten mit einem kleinen Strich markieren.
Turn the fabric to the wrong side. Place your pattern and draw around the pattern with a marking pencil as shown. Mark the top and bottom centers.
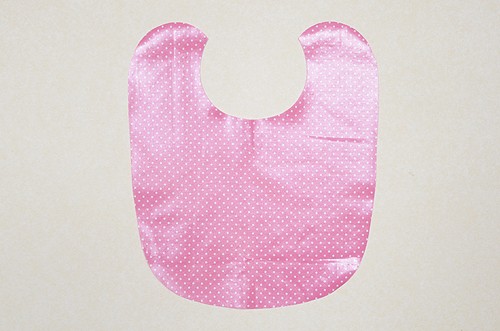
3. Das Lätzchen im Stoffbruch zuschneiden.
Cut out the bib on the fold.
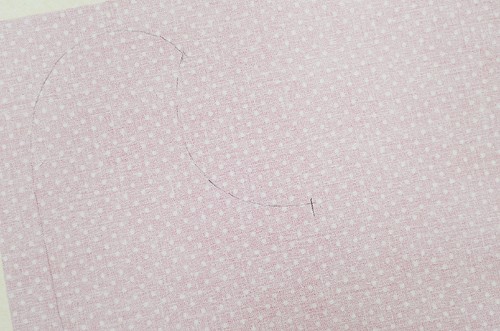
So sollte Euer Zuschnitt aussehen.
This is how your cutting should look like.
4. Alle Schritte für die Tasche wiederholen.
Repeat the above steps to cut out the pocket.
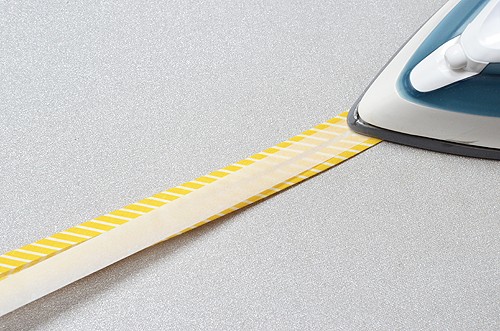
5. Jetzt wird das Schrägband vorbereitet. Vlisofix-Streifen nach Anleitung des Herstellers auf die Innenseite des Schrägbandes bügeln. Trägerpapier vorsichtig abziehen.
Now prepare the bias tape. Apply the strip of bondaweb on the inside of the bias tape, following the manufacturer’s instructions. Remove the release paper carefully.
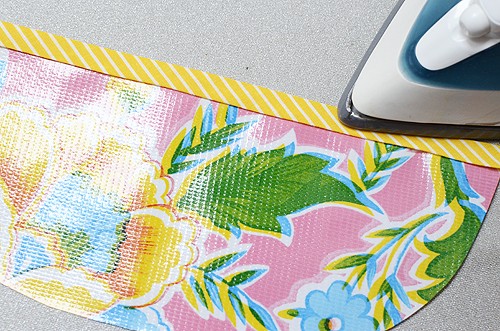
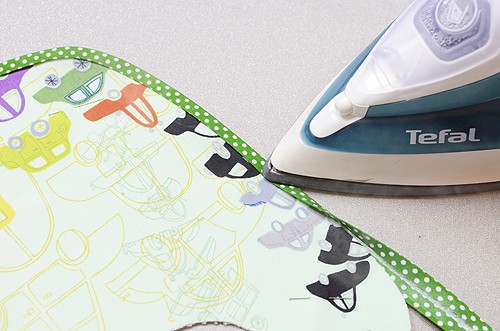
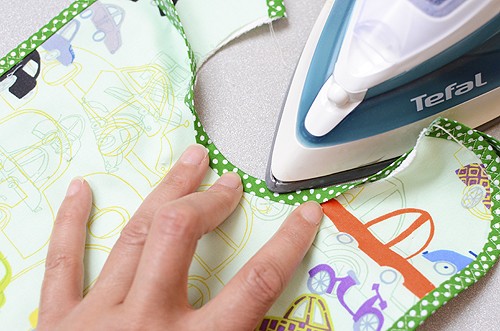
6. Schrägband vorsichtig bei niedriger Bügelstufe auf die Taschenöffnung bügeln, dabei NUR über das Schrägband bügeln.
Use the iron to carefully attach the bias tape to the fabric. Set the iron to a low temperature and make sure NOT to iron your oilcloth.
Hier ist Vorsicht geboten! Wenn Euch das Aufbügln des Schrägbandes auf Wachstuch zu unsicher ist, könnt Ihr auch Gewebekleber nehmen, um das Schrägband zu fixieren oder es mit Nadeln feststecken!
This is tricky, so caution is advised! If you don’t feel comfortable ironing the bias tape to your oilcloth you can fix it by using fabric glue or pins.
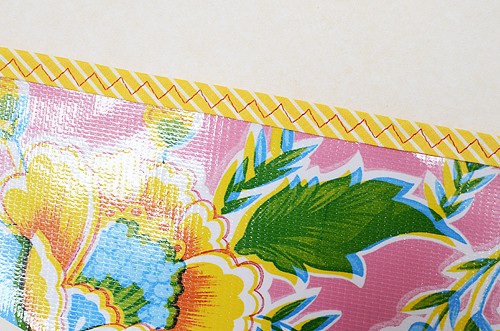
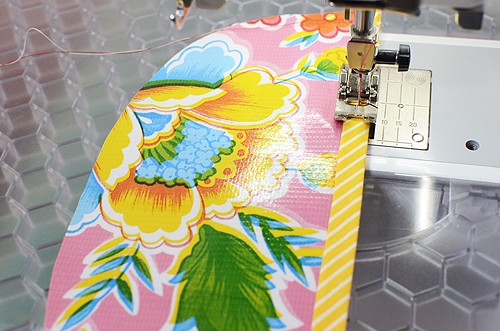
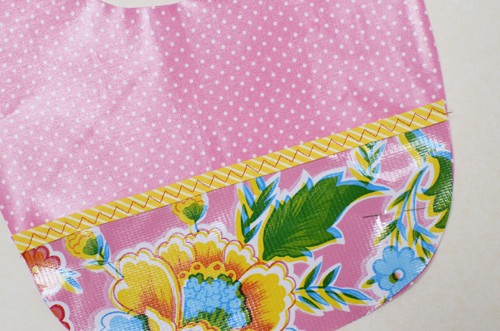
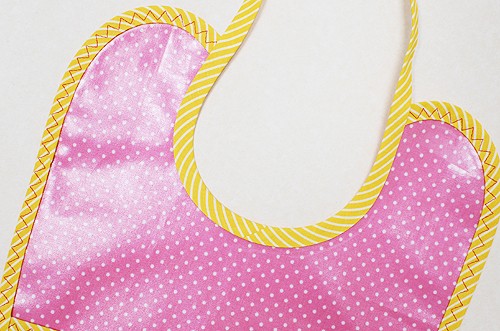
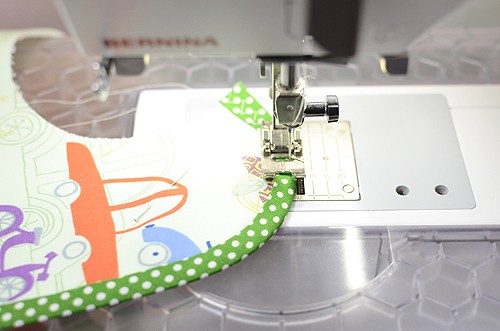
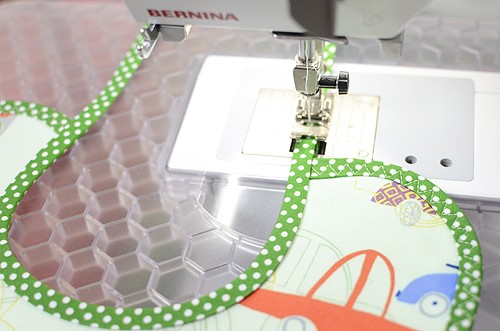
7. Schrägband mit dem gestrichelte Zickzack Stichmuster feststeppen.
Sew on the bias tape using the dashed zigzag stitch.
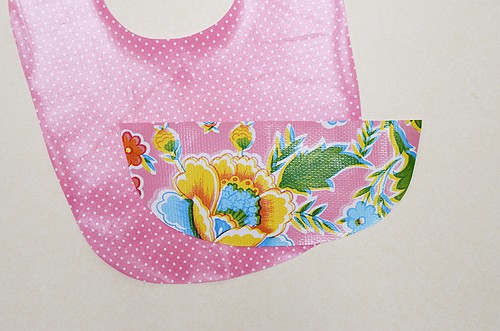
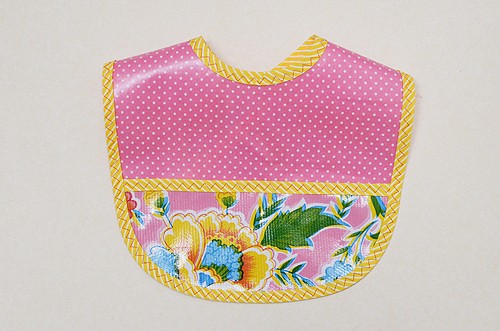
8. Lätzchen und Tasche mit Stecknadeln zusammenheften. Beide Teile wie vorher mit Schrägband einfassen und feststeppen.
Pin the pocket to the bib. Repeat the above steps to attach the bias tape.
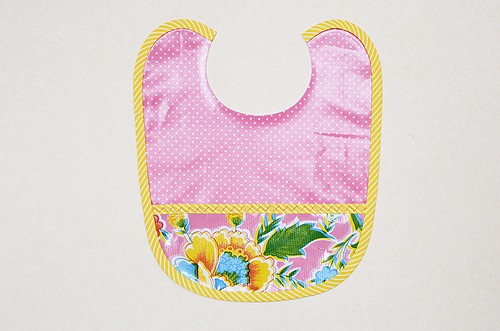
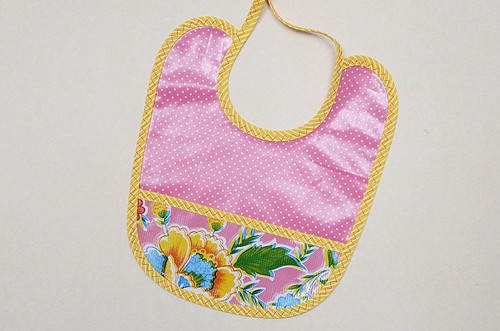
9. Als letztes den Halsausschnitt wie vorher mit Schrägband einfassen und feststeppen. Die an beiden Seiten 30 cm überstehenden Enden bilden die Bändel zum Zubinden.
Repeat the above steps to attach the bias tape to the neckline, leaving a 12 inch overhang on both ends to create the ribbon.
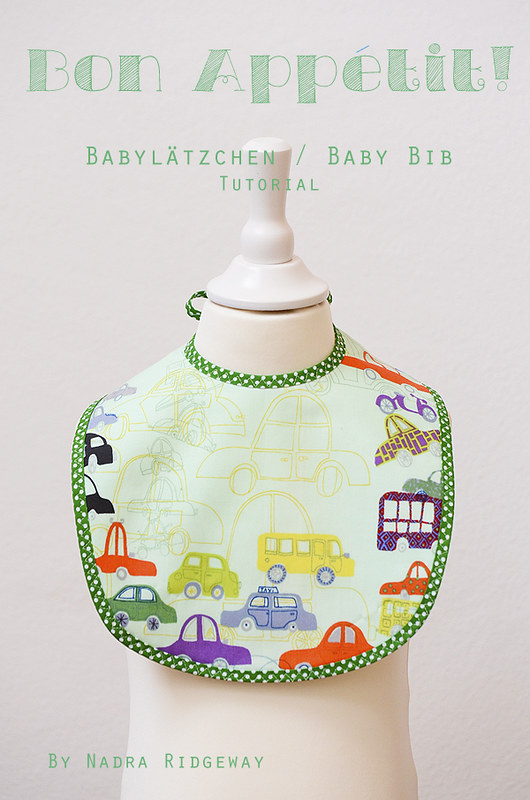
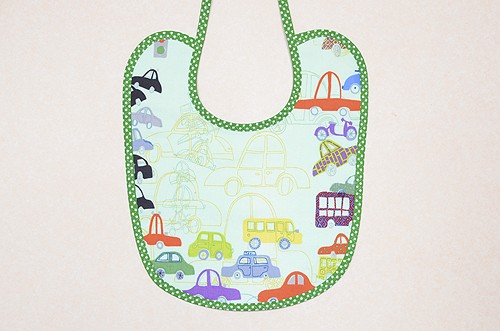
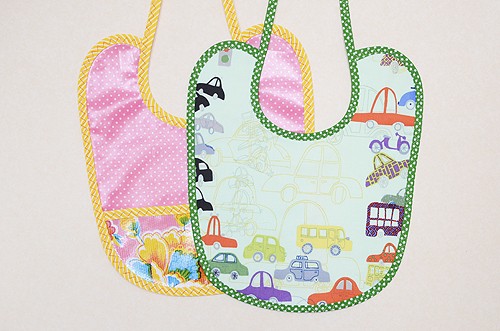
Voila…
VERSION A
1. Schnittmuster herunterladen, ausdrucken und ausschneiden.
Download the pattern, print and cut it out.
2. Den Baumwoll-Stoff für die Vorderseite auf links drehen. Das Schnittmuster platzieren und mit dem Stift umranden. Die Mitte oben und unten mit einem kleinen Strich markieren.
Turn the cotton fabric to the wrong side. Place your pattern and draw around the pattern with a marking pencil as shown. Mark the top and bottom centers.
3. Das Vorderteil im Stoffbruch zuschneiden.
Cut out the front on the fold.
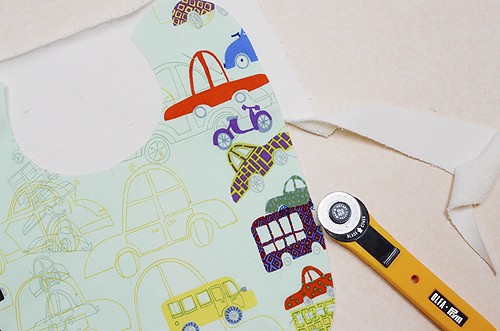
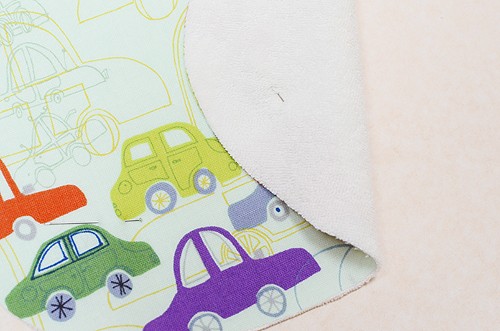
4. Das Vorderteil und den Frottier-Stoff für die Rückseite links auf links legen und mit Stecknadeln zusammenheften. Rückseite entlang des Vorderteils zuschneiden.
Pin the front of your bib to the terry cloth, wrong sides together. Cut out the backing, by tracing around the front of the bib.
So sollte Euer Zuschnitt jetzt aussehen.
This is how your cutting should look like.
5. Schrägband wie bei Version B vorbereiten, Vorder- und Rückseite, sowie den Halsauschnitt des Lätzchen mit dem Bügeleisen einfassen und feststeppen.
Repeat all of the above steps prepare the bias tape and attach it to your bib.
Et voilà…
BON APPÉTIT!
